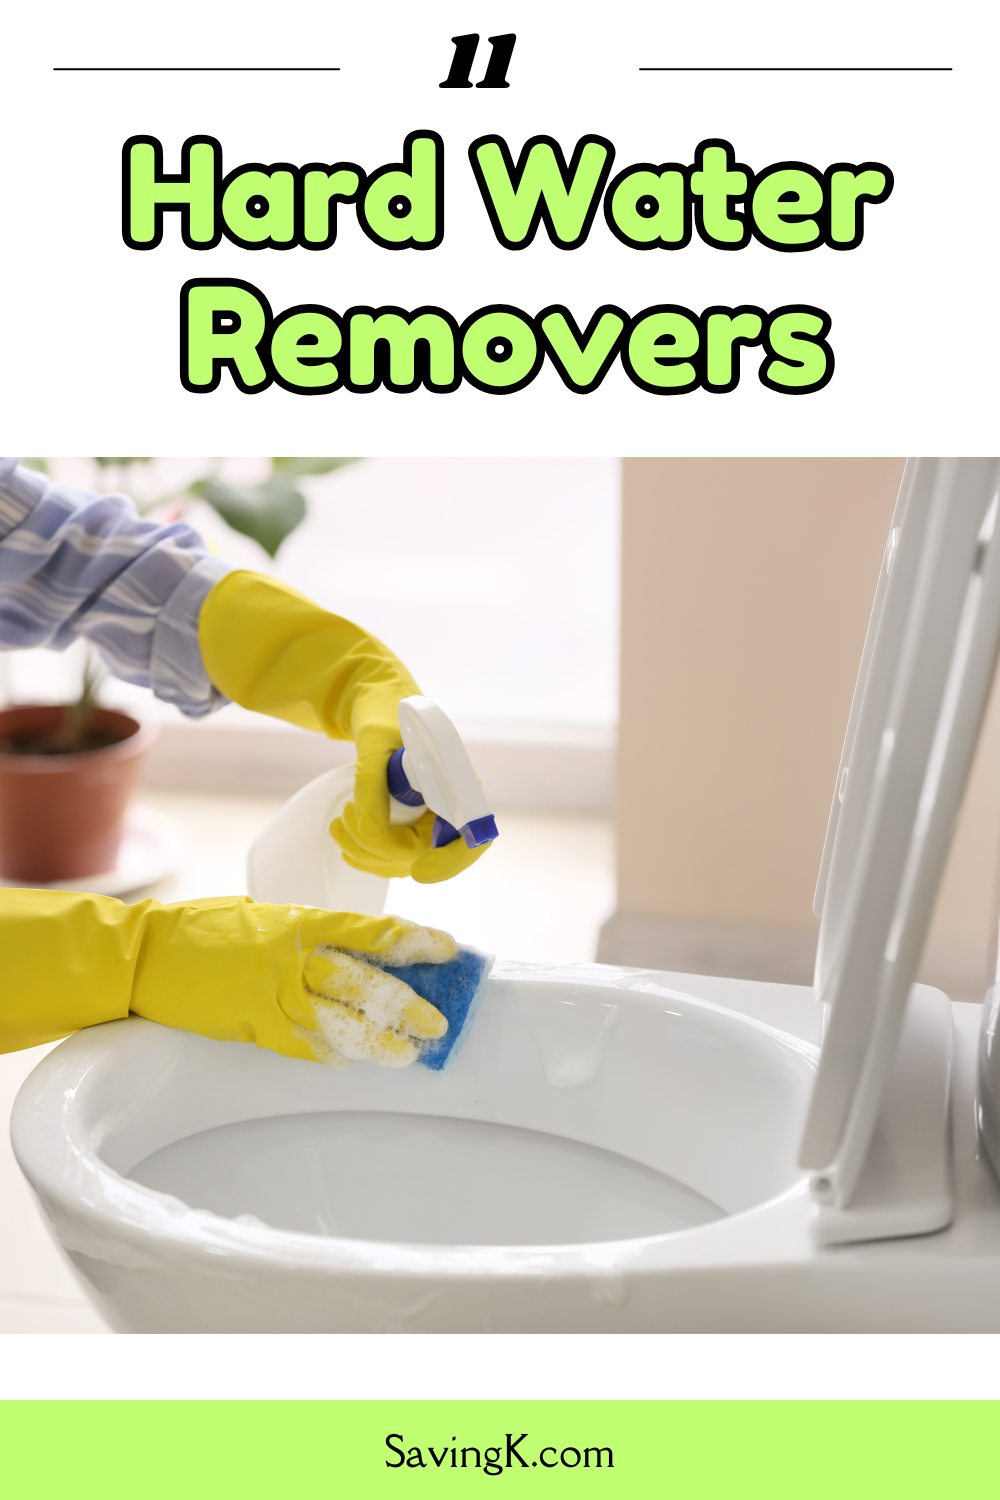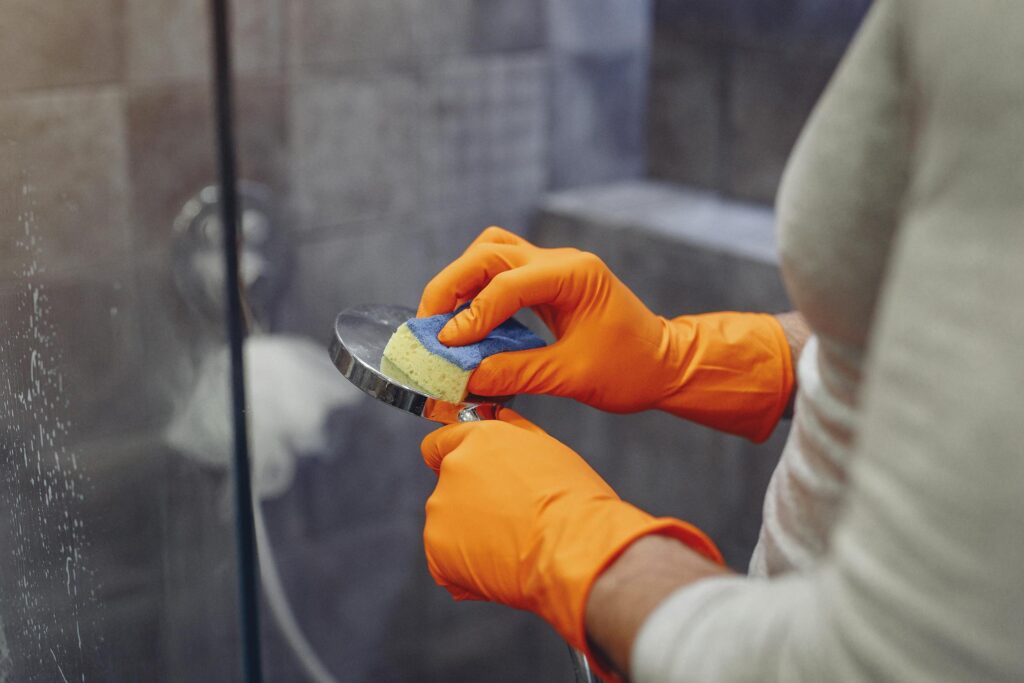
Did you know that the average American household wastes up to 9,000 gallons of water annually due to hard water buildup in pipes? That’s enough to fill a small swimming pool! But don’t worry, I’ve got your back with several hard water removers to use when it comes to tackling those pesky hard water stains that are probably driving you crazy right now.
I’ve been battling hard water stains in my own home for years, and let me tell you, it’s been quite the journey. From scrubbing my shower doors until my arms felt like noodles to trying every cleaner under the sun, I’ve learned a thing or two about what hard water remover works and what doesn’t. So, buckle up, because we’re about to dive into the world of hard water removers that’ll make your surfaces shine like new.
Contents
Understanding Hard Water Stains
What Causes Hard Water Stains?
Okay, so here’s the deal: hard water stains are like that annoying houseguest who overstays their welcome. They’re caused by high levels of minerals, mainly calcium and magnesium, in your water supply. When this mineral-rich water evaporates, it leaves behind a chalky, white residue that we call limescale. It’s like the water decided to leave you a not-so-nice parting gift.
Common Areas Affected by Hard Water Stains
Trust me, these stains are equal opportunity offenders. They’ll show up anywhere water touches, including:
- Your bathroom fixtures (yep, that includes the throne)
- Glass shower doors and mirrors (goodbye, clear reflections)
- Ceramic tiles and grout (because cleaning grout wasn’t fun enough already)
- Kitchen sinks and appliances (dishwasher, I’m looking at you)
- Glassware and dishes (nothing says “fancy dinner” like cloudy glasses)
- Outdoor surfaces (sprinklers, fountains, and pool tiles aren’t safe either)
Now that we’ve identified the culprit, let’s roll up our sleeves and tackle these stains head-on with the perfect hard water remover for your stains.
DIY Hard Water Removers
1. White Vinegar: The Versatile Solution
Ah, white vinegar – the unsung hero of household cleaning. This stuff is like the Swiss Army knife of hard water removal. Its acidic nature makes it a champ at breaking down mineral deposits and limescale. Plus, you probably already have it in your pantry, which means no extra trips to the store. Win-win!
Here’s how I use white vinegar to kick hard water stains to the curb:
- For faucets and showerheads:
- Grab a plastic bag and fill it with white vinegar.
- Secure it over the fixture with a rubber band (it’ll look like your faucet is wearing a shower cap).
- Let it soak for 5-15 minutes, or overnight if you’ve got some seriously stubborn stains.
- Remove the bag and give it a good scrub with an old toothbrush.
- Rinse thoroughly and marvel at the shine.
- For glass surfaces and mirrors:
- Mix equal parts white vinegar and distilled water in a spray bottle.
- Spray it on like you’re in a cleaning commercial and let it sit for 5-15 minutes.
- Wipe clean with a soft, lint-free cloth and prepare to see your reflection in all its glory.
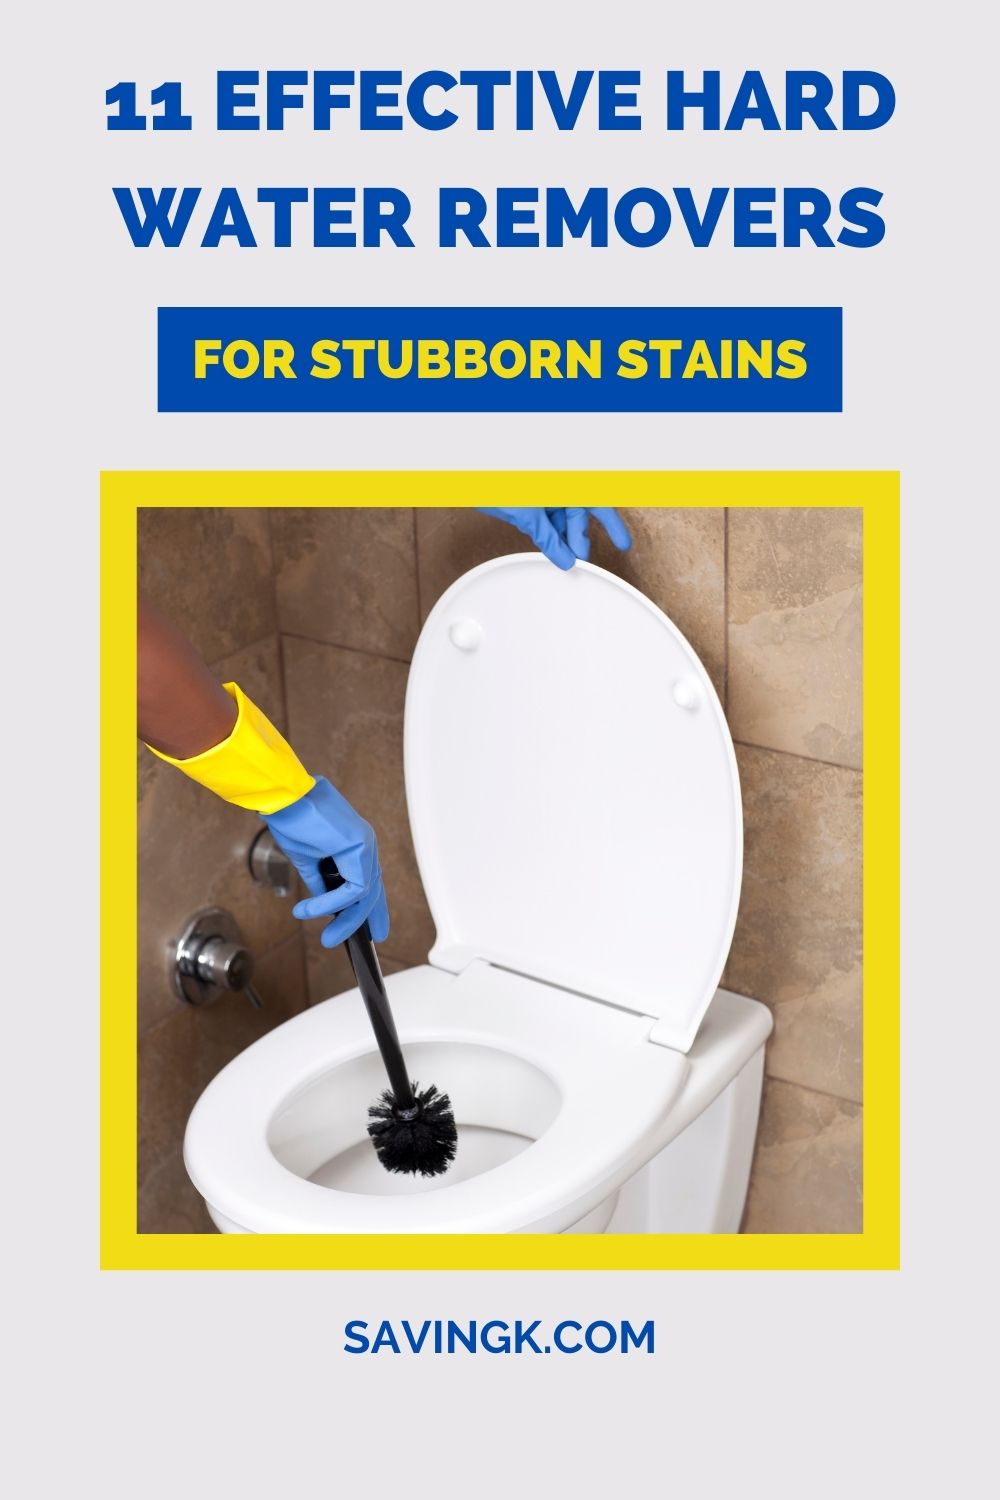
- For toilet bowls:
- Pour a cup of white vinegar into the bowl and let it work its magic for a few hours or overnight.
- Give it a good scrub with a toilet brush and flush away the evidence.
Pro tip: For extra tough stains, heat up the vinegar before applying. It’s like giving your cleaning solution a caffeine boost!
2. Lemon Juice: Nature’s Acidic Cleaner
If you’re not a fan of the vinegar smell (I get it, it’s not exactly a rose garden), lemon juice is your next best bet. It’s got that citric acid punch that breaks down mineral deposits, plus it leaves your bathroom smelling fresh and clean.
Here’s how I put lemon juice to work:
- Direct application:
- Cut a lemon in half and rub it directly on the stained surface. It’s like giving your fixtures a citrus massage.
- Let the juice sit for 5-10 minutes.
- Scrub with a soft brush or cloth and rinse with water.
- Lemon juice spray:
- Mix equal parts lemon juice and water in a spray bottle.
- Spritz it on the affected area and let it sit for 5-10 minutes.
- Wipe clean with a damp cloth and enjoy the lemony freshness.
Want to up your lemon game? Try mixing it with salt to create a paste. Apply it to the stain, let it sit for a few minutes, then scrub and rinse. It’s like a mini spa treatment for your fixtures!
3. Baking Soda Paste: Gentle yet Effective
Baking soda is like that friend who’s always there when you need them. It’s a mild abrasive that can scrub away hard water stains without scratching your surfaces. It’s particularly awesome on ceramic tiles and other surfaces that can handle a little elbow grease.
Here’s my go-to baking soda paste recipe:
- Mix 1/4 cup of baking soda with just enough water to form a thick paste. You want it to be spreadable, not runny.
Now, let’s put this paste to work:
- For sinks and bathtubs:
- Slather that paste on the stained area like you’re frosting a cake.
- Let it sit for a few minutes (maybe do a little dance while you wait).
- Scrub gently with a soft sponge or cloth.
- Rinse thoroughly with water and admire your handiwork.
- For glass shower doors:
- Apply the paste to a damp sponge.
- Gently scrub the door in circular motions, channeling your inner Karate Kid (“wax on, wax off”).
- Rinse with warm water and dry with a microfiber cloth for a streak-free finish.
- For tile and grout:
- Apply the paste to the affected areas.
- Let it sit for 10-15 minutes (perfect time for a quick social media scroll).
- Scrub with a soft brush or old toothbrush.
- Rinse with warm water and bask in the cleanliness.
4. Hydrogen Peroxide and Cream of Tartar Mix
Alright, for those stubborn stains that just won’t budge, it’s time to bring out the big guns. According to Bob Hoegler Plumbing, a mixture of hydrogen peroxide and cream of tartar can work wonders on tough mineral deposits. It’s like creating a superhero cleaning duo right in your own home.
Here’s how to whip up this powerful paste:
- Mix equal parts hydrogen peroxide and cream of tartar until you get a consistency that looks like pancake batter.
- Apply this magical concoction to the stained area.
- Let it sit for up to 30 minutes (go ahead, watch an episode of your favorite show).
- Scrub gently with a damp sponge or soft brush.
- Rinse thoroughly with water and prepare to be amazed.
Just remember, with great power comes great responsibility. Wear gloves to protect your skin, and avoid getting this mixture in your eyes or mouth. Also, do a little spot test on an inconspicuous area first to make sure it won’t damage your surface.
5. Epsom Salt: An Unexpected Hard Water Fighter
Now, here’s a curveball for you – Epsom salt. Yep, the same stuff you use for a relaxing bath can also help you fight hard water stains. Who knew, right? Summit Brands mentions this as an effective, albeit less common, method for tackling those pesky stains.
Here’s how I use Epsom salt to show hard water who’s boss:
- Mix equal parts Epsom salt and dish soap to create a paste. It should look a bit like sandy mud.
- Apply this gritty goodness to the stained area.
- Let it sit for 15-20 minutes (perfect time to belt out a few of your favorite songs).
- Scrub gently with a soft brush or cloth.
- Rinse thoroughly with water and enjoy your newly refreshed surface.
Now, I’ll be honest – this method might require a bit more elbow grease compared to some of the others. But hey, it’s a great arm workout, right? Plus, it’s super budget-friendly and gentle on most surfaces.
Commercial Hard Water Removers
Sometimes, despite our best DIY efforts, we need to call in the professionals. And by professionals, I mean those scientifically formulated products designed specifically to tackle hard water stains. Let’s check out some top contenders:
6. CLR Bath Cleaner: A Powerful Option
CLR Bath Cleaner is like the superhero of bathroom cleaners. It swoops in to dissolve calcium, lime, and rust deposits faster than you can say “hard water stains.” I’ve used this stuff, and let me tell you, it’s pretty impressive.
Here’s why CLR Bath Cleaner is a fan favorite:
- It works on multiple surfaces, from glass to chrome to fiberglass. It’s like the Swiss Army knife of cleaners.
- It’s biodegradable and septic-safe, so you can feel good about using it.
- It’s even EPA Safer Choice certified, which is like getting a gold star for being environmentally friendly.
To get the most out of CLR Bath Cleaner, here’s what I do:
- Spray it directly on the stained area. Be generous – this is no time for restraint.
- Let it sit for 2-3 minutes. Resist the urge to start scrubbing immediately – patience is key here.
- Scrub gently with a sponge or cloth. No need to channel your inner Hulk here.
- Rinse thoroughly with clean water.
- For those really stubborn stains, I repeat the process or let it sit for up to 5 minutes.
7. Iron OUT Products: Specializing in Rust and Hard Water
Now, if you’re dealing with some serious rust alongside your hard water stains, Iron OUT products might just be your new best friend. These guys specialize in tackling tough, set-in stains that other cleaners might run away from.
Iron OUT offers a couple of options:
- Iron OUT Rust Stain Remover Powder: This versatile powder is great for various surfaces. It’s like the chameleon of cleaners.
- Iron OUT Rust Stain Remover Spray Gel: This easy-to-use spray is perfect for vertical surfaces and those hard-to-reach areas. It’s like having a precision cleaning tool.
So, which one should you choose? Well, it depends on your battle plan:
- The powder is more economical for large areas and can be mixed with water to customize its strength. It’s ideal for soaking items like toilet bowls.
- The spray gel is super convenient for spot treatments and clings to vertical surfaces like a champ. No mixing required – just point and shoot.
The best part? Both products are effective at removing hard water stains without scrubbing. It’s like they do the hard work for you. Now that’s my kind of cleaner!
8. Lysol Toilet Bowl Cleaner with Lime & Rust Remover
Okay, I know what you’re thinking – “Isn’t this just for toilets?” Well, yes and no. While it’s primarily marketed for toilet bowls, this Lysol cleaner can be a secret weapon against hard water stains on various bathroom surfaces.
Here’s why I love this product:
- Its powerful formula is designed to tackle tough lime, calcium, and rust stains. It’s like sending in a SWAT team to deal with your hard water issues.
- It disinfects while it cleans, killing 99.9% of bacteria. Two birds, one stone!
- The thick gel formula clings to surfaces, giving it more time to work its magic on those stubborn stains.
Now, here’s how I use it:
- For toilet bowls:
- Apply the product under the rim and around the bowl.
- Let it sit for 10-15 minutes (maybe do a quick workout while you wait).
- Scrub with a toilet brush and flush.
- For other bathroom surfaces (use cautiously and always test in an inconspicuous area first):
- Apply a small amount to the stained area.
- Let it sit for 5-10 minutes.
- Scrub gently with a sponge or brush.
- Rinse thoroughly with water.
9. OxiClean Foam-Tastic: Bubbling Away Stains
Leaf Home recommends OxiClean Foam-Tastic as a versatile bathroom cleaner that can effectively remove hard water stains while also tackling soap scum and general grime. It’s like the overachiever of bathroom cleaners.
What makes Foam-Tastic stand out:
- Its foaming action helps lift stains from surfaces. It’s like giving your bathroom a bubble bath!
- No harsh fumes or overpowering scent. Your nose will thank you.
- Safe for use on multiple bathroom surfaces. It’s the jack-of-all-trades in your cleaning arsenal.
Here’s how I put Foam-Tastic to work:
- Spray the foam directly onto the stained surface. Be generous – more is more here.
- Let it sit for 5-10 minutes, allowing the foam to work its magic on the stains.
- Wipe the surface with a damp cloth or sponge.
- Rinse thoroughly with clean water.
- For tougher stains, I reapply and gently scrub before rinsing.
10. PROSOCO Sure Klean 1261: Professional-Grade Solution
Now, if you’re dealing with some serious, long-standing hard water stains, particularly on masonry surfaces, it might be time to bring out the big guns. PROSOCO Sure Klean 1261 Hard Water Deposit Remover is a professional-grade solution that means business.
Here’s the lowdown on this concentrated acidic cleaner:
- It’s specially formulated to dissolve mineral deposits on masonry and other hard surfaces.
- It’s more effective than many household cleaners for stubborn, long-standing hard water stains. It’s like sending in the Navy SEALs of cleaning products.
- It can be used on a variety of surfaces, including concrete, brick, tile, and some metals.
Now, because this is a professional-grade product, you’ll need to handle it with care. Here’s how I use it:
- For general cleaning, I mix 1 part Sure Klean 1261 with 2-3 parts water.
- For those extreme cases (you know, the ones that make you want to just replace the whole surface), I use a stronger dilution of 1 part product to 1 part water.
- Application steps:
- Apply the diluted solution to the stained area with a brush or low-pressure spray.
- Let it hang out on the surface for 3-5 minutes.
- If needed, I agitate with a brush.
- Rinse thoroughly with clean water. For large areas, I prefer using pressure washing equipment.
Always follow the manufacturer’s instructions and safety guidelines when using this product. It’s powerful stuff, so treat it with respect!
11. Vodka: The Surprising Hard Water Spot Remover
Believe it or not, vodka isn’t just for cocktails – it can also help tackle hard water spots! Its alcohol content makes it a great solution for breaking down mineral deposits without the harsh chemicals found in many commercial cleaners. Plus, it’s odorless compared to vinegar or lemon juice, so your bathroom won’t have that sharp cleaning smell.
Here’s how to use vodka to clean hard water spots:
- For glass surfaces and mirrors: Pour some vodka into a spray bottle and spritz directly onto the spots. Let it sit for a few minutes, then wipe clean with a soft cloth for a streak-free shine.
- For faucets and chrome fixtures: Soak a cloth in vodka and wrap it around the fixture. Let it sit for 10-15 minutes to break down the deposits, then scrub with a sponge or toothbrush before rinsing.
Vodka is a budget-friendly, effective solution, especially if you have some extra in your liquor cabinet!
Hard Water Remover Prevention Tips
Now, I know what you’re thinking – “This is all great, but I’d rather not have to deal with these stains in the first place!” I hear you, and I’ve got some tips to help keep those hard water stains at bay.
Regular Cleaning Routines
Look, I get it. Cleaning isn’t exactly at the top of anyone’s fun list. But trust me, a little regular maintenance can save you from some major headaches down the road. It’s like flossing – a small effort now prevents big problems later.
Here’s why frequent cleaning is your best friend:
- It prevents mineral deposits from accumulating and becoming harder to remove. Think of it as nipping those stains in the bud.
- Addressing small stains immediately is way easier than tackling large, set-in stains later. It’s like dealing with a small puddle versus a lake.
I’ve developed some quick daily habits that have made a huge difference in minimizing hard water stains:
- After each shower, I do a quick wipe-down of the walls and doors. It takes like 30 seconds, tops.
- I keep a squeegee in the shower and use it on glass surfaces to remove water droplets. It’s oddly satisfying.
- After using the sink, I dry faucets and fixtures with a soft cloth. It’s become second nature at this point.
- I make sure to flush toilets regularly to prevent mineral buildup in the bowl. Plus, you know, hygiene.
Water-Repelling Products
Now, if you want to take your prevention game to the next level, water-repelling products are where it’s at. These sealants and coatings create a barrier that prevents hard water from sticking to surfaces in the first place. It’s like giving your bathroom a superpower!
Here’s how I apply these wonder products:
- Glass shower doors:
- First, I clean and dry the surface thoroughly. We want a clean slate here.
- Then, I apply a glass sealant according to the product instructions. It’s usually a spray-on, wipe-off situation.
- I reapply every 6-12 months to keep that protection going strong.
- Tile and grout:
- Again, I start with a clean, completely dry surface.
- I apply a penetrating sealer to both tile and grout lines. This stuff is like a force field against water and stains.
- I let it dry and reapply annually, or as recommended by the manufacturer.
- Faucets and fixtures:
- After cleaning and drying the surface, I apply a metal sealant or even car wax. Yes, car wax! It creates a slick protective barrier.
- I buff it to a shine and reapply every few months.
By implementing these hard water remover prevention strategies, you can significantly reduce the frequency and severity of hard water stains in your home. It’s like giving your bathroom a suit of armor against those pesky minerals!
So there you have it, folks – your comprehensive guide to battling hard water stains. From vinegar to professional-grade cleaners, and from daily habits to long-term prevention, you’re now armed with everything you need to keep your surfaces sparkling clean. Remember, consistency is key, and a little effort goes a long way. Now go forth and conquer those hard water stains – your shiny, stain-free surfaces await!
