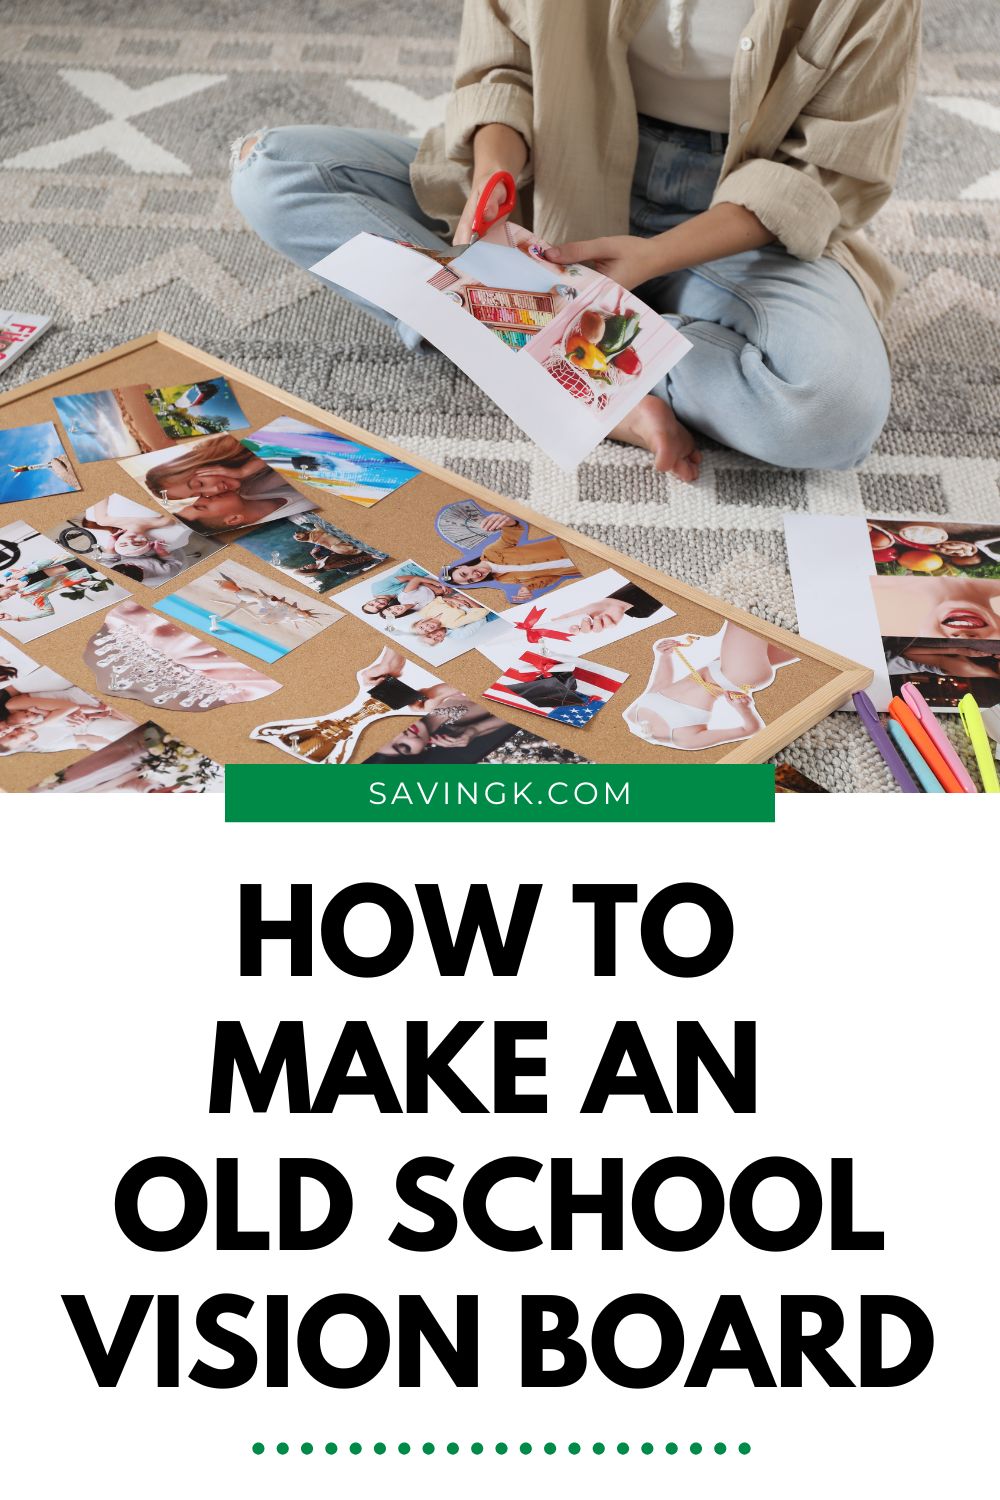

In a world full of apps, Pinterest boards, and digital vision planners, there’s something refreshing about going back to basics. An old school vision board, made with posterboard, scissors, glue, and cut-outs from magazines or catalogs, lets you slow down, get creative, and connect with your dreams in a tangible way. Plus, it’s fun!
If you’re ready to manifest your goals the classic way, here’s how to make an old school vision board that actually works.
Contents
What Is a Vision Board?
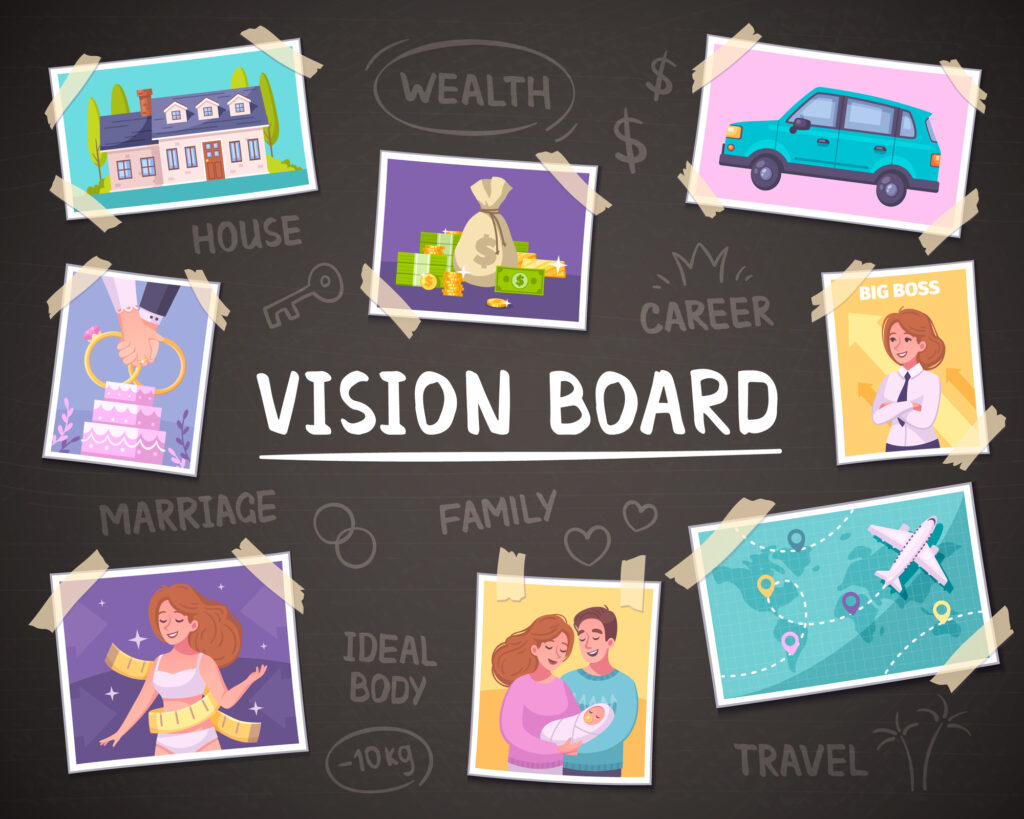
A vision board is a collection of images, words, and symbols that represent your goals, dreams, and intentions. By seeing your vision daily, you’re reminding your brain what to focus on, which can motivate you to take steps toward making it real.
While there are plenty of digital vision board options, the traditional, hands-on method helps you get creative, unplug from screens, and make the process more personal.
What You’ll Need
- Posterboard or corkboard – The foundation of your vision board.
- Magazines and catalogs – Look for free catalogs and magazines with lots of images and words that resonate with your goals.
- Scissors – To cut out pictures, phrases, and quotes.
- Glue stick, tape, or pins – To attach your cutouts.
- Markers, stickers, or washi tape (optional) – For extra flair and personal touches.
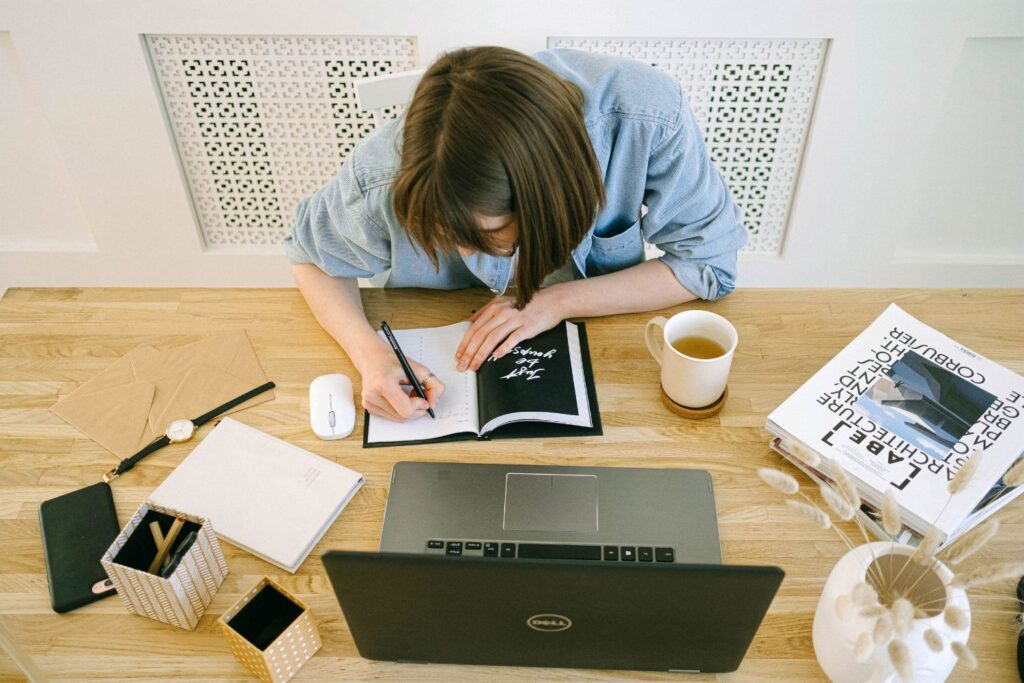
Step 1: Define Your Goals
Before you start cutting, think about what you want your vision board to represent.
- Do you want to focus on career goals?
- Are you manifesting financial freedom?
- Is your priority health, travel, or relationships?
Write down a few intentions to guide what images and words you’ll be looking for.
Step 2: Gather Inspiration
Flip through your stack of magazines and catalogs with your goals in mind. Cut out anything that sparks excitement or feels aligned with what you want, whether that’s a beach photo symbolizing travel, the word “success” in bold letters, or an image of someone running that reminds you of your fitness goals.
Don’t overthink it. If it speaks to you, cut it out!
Step 3: Arrange Your Vision
Lay out your cutouts on the posterboard before gluing. Move things around until the layout feels right. You might group images by theme (finance, health, relationships) or create a collage that flows naturally.
Some people like to place their biggest, most important goal in the center, then build around it.
Step 4: Glue It Down
Once you’re happy with the arrangement, start gluing or taping your pieces down. Add personal touches like doodles, affirmations written in marker, or even free stickers that make the board feel even more yours.
Step 5: Put It Where You’ll See It
A vision board only works if you look at it often. Hang it in your bedroom, office, or another space you see daily. The more you see your dreams, the more your brain starts to believe they’re possible.
Tips to Make Your Vision Board More Powerful
- Be specific – Don’t just cut out a picture of a house; pick one that matches your dream home style.
- Use words too – Add motivational quotes or single words that capture your goals.
- Update as needed – Your dreams may shift over time. Don’t be afraid to make a new board each year or season.
- Make it fun – Play music, grab a friend, and treat it like a craft night.
Why Old School Vision Boards Still Work
There’s a tactile magic in flipping through a magazine, cutting out images, and gluing them into a personal masterpiece. Unlike digital vision boards that can get lost in apps, an old school vision board becomes a daily visual reminder of your future and a powerful motivator to take action.
So grab your scissors and glue stick, and start crafting your dreams the old-fashioned way. Sometimes, the classics really are the best.
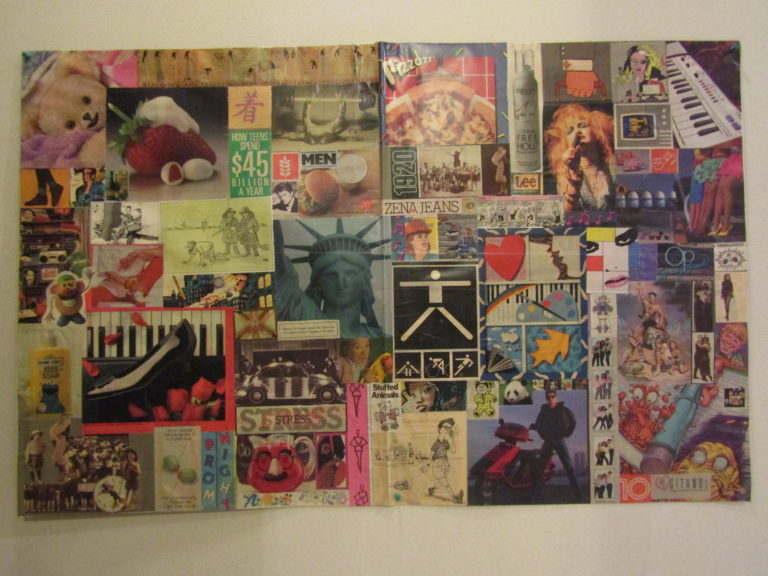
Featured photo above is an actual photo of Kim’s vision board created in the late 1980s.